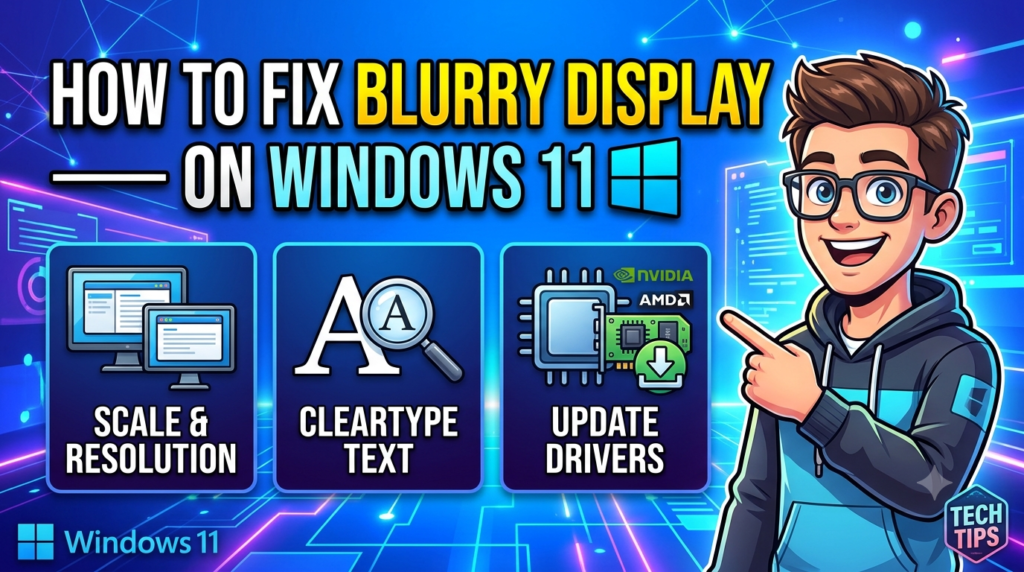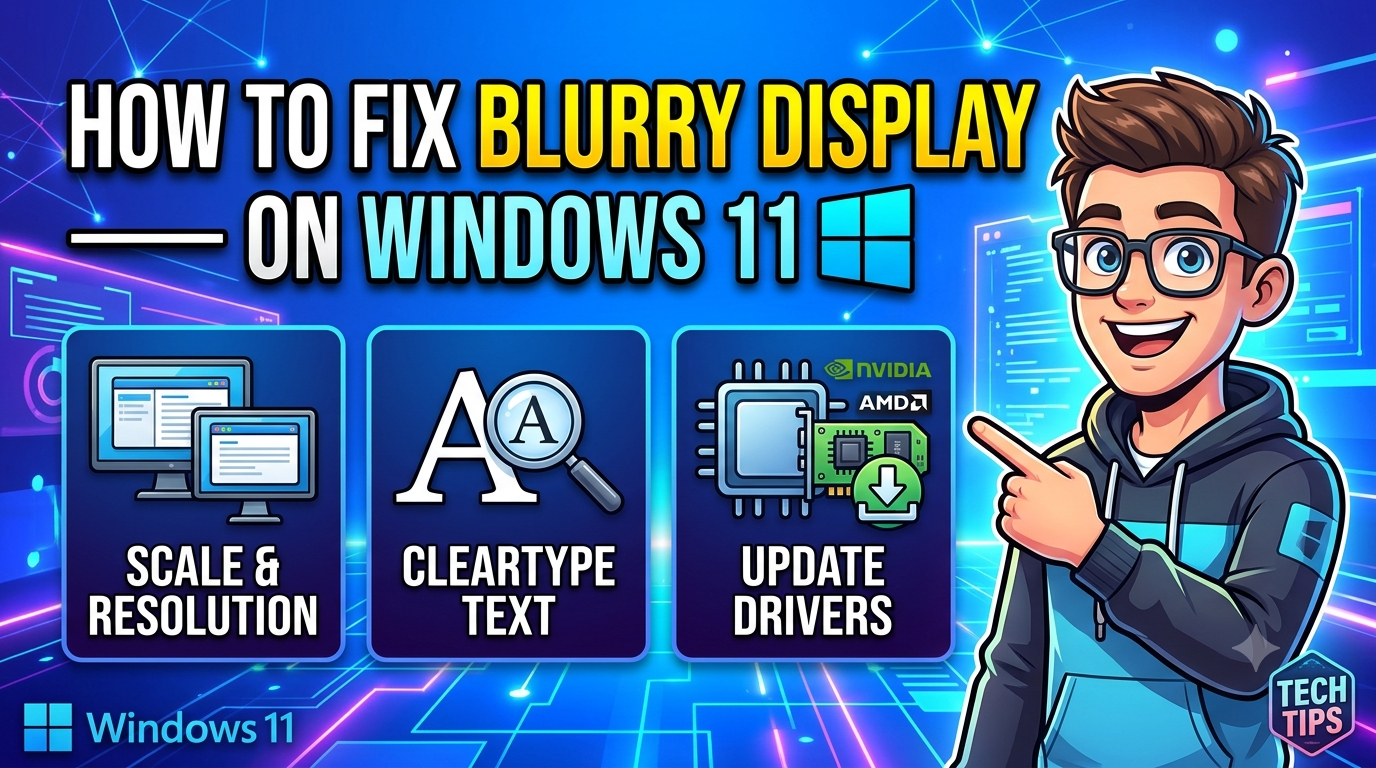
Windows 11-a display blurriness issue is usually caused by incorrect display scaling, resolution mismatches, or outdated graphics drivers. Therefore, you need to check first whether your computer’s resolution is set correctly.
To make your screen clean and sharp, follow these steps one by one:
- Check Your Display Resolution and Scaling
Windows 11 automatically adjusts the size of text and apps for high-resolution screens, which often leaves older programs looking fuzzy. To check this, right-click anywhere on an empty spot on your desktop and open Display settings.
Scroll down to the Scale & layout section and look at Display resolution. Make sure it is set to the option marked (Recommended). Right above or below that, set the Scale to the (Recommended) percentage as well (this is usually 100%, 125%, or 150%). As soon as you select the right option, you will notice everything on the screen automatically shrinks slightly and looks much cleaner—that is how you know it has adjusted properly.
2. Turn On “Fix Scaling for Apps”
If your desktop looks fine but certain apps are still blurry, Windows 11 has a handy built-in toggle for this. Open Settings (Win + I), go to System, and click on Display.
Instead of opening the percentage dropdown menu, click directly on the Scale tab (or the small arrow next to it). Inside, just make sure the switch for Let Windows try to fix apps so they’re not blurry is turned On.
3. Adjust ClearType Text
Sometimes icons and wallpapers look crisp, but the letters themselves look jagged or washed out. When that happens, tuning ClearType usually solves it:
- Click the Start button, type Adjust ClearType text, and hit Enter.
- Tick the box for Turn on ClearType and click Next.
- Windows will show you a few different text samples—just pick the one that looks sharpest to your eyes on each screen, then click Finish.
4. Fix a Single Blurry App Using High DPI Settings
If your whole system looks great and only one stubborn program looks fuzzy, you can force that specific app to behave properly. Right-click the app’s shortcut (or its .exe file) and open Properties.
Switch over to the Compatibility tab and click Change high DPI settings. At the bottom of the new window, check the box for Override high DPI scaling behavior. In the dropdown menu right underneath it, pick Application (if that doesn’t clear it up, come back and try System (Enhanced)). Hit OK, click Apply, and restart the app to see the difference.
5. Update or Reinstall Your Graphics Drivers
Corrupted or old GPU drivers are one of the most common reasons behind sudden display and resolution glitches. First, check which graphics card your PC is running:
- Right-click the Start button and open Device Manager.
- Click the arrow next to Display adapters to see your graphics card’s name.
- Right-click on your card (Intel, NVIDIA, or AMD) and choose Update driver > Search automatically for drivers.
If Windows says you already have the best drivers, it is worth checking for updates manually via Settings > Windows Update > Check for updates, or grabbing the latest version straight from the manufacturer’s site:
- NVIDIA: Download The Official NVIDIA Drivers
Link : https://www.nvidia.com/en-us/drivers/ - AMD: Drivers and Support for Processors and Graphics
Link: https://www.amd.com/en/support/download/drivers.html
6. Check Your Cables and Monitor Settings (External Monitors)
If you are using a desktop PC or have a laptop hooked up to an external screen, the issue might actually be outside Windows:
- Switch to a digital cable: Make sure you are using an HDMI, DisplayPort, or USB-C cable. Older analog VGA cables simply cannot keep up with modern screens and often leave the image looking soft.
- Reseat the connection: Unplug the display cable from both the back of your PC and the monitor, then push it back in firmly.
- Reset the monitor: Use the physical buttons on your monitor to open its on-screen menu (OSD). Check that the Sharpness setting hasn’t been bumped off its default level, or simply hit Factory Reset in the monitor’s menu.
Once you have gone through these steps, give your computer a quick restart. If the screen still looks blurry after a reboot, you can safely rule out a Windows software glitch—at that point, it is almost certainly a hardware issue with your monitor, cable, or graphics card.