A Complete Step-by-Step Ubuntu Linux Troubleshooting
Guide
First of all, Thank you so much for visiting my website and reading this blog. I
truly appreciate your support, and I hope this guide helps you fix your Ubuntu boot
problem quickly and easily.
Now, let’s get started!
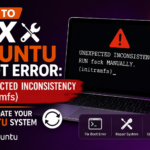
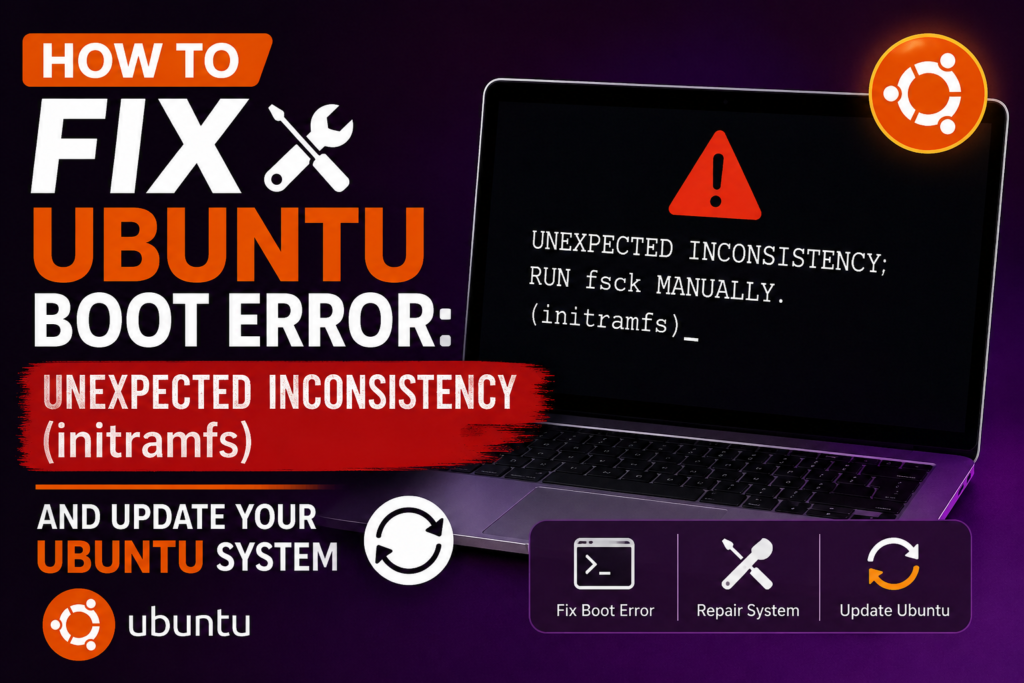
If you’re reading this article, there’s a good chance your Ubuntu system suddenly
stopped booting and dropped you into the (initramfs) prompt with an error like this:
UNEXPECTED INCONSISTENCY; RUN fsck MANUALLY.
(i.e., without -a or -p)
This is exactly what happened to me.
My operating system is Ubuntu Linux, and one day when I powered on my laptop, it
refused to boot. Instead of the normal login screen, I saw an Input/output error
followed by the UNEXPECTED INCONSISTENCY message.
At first, I thought my operating system was completely broken and that I might lose
all my important files. Thankfully, after following a few simple troubleshooting steps,
I was able to repair the filesystem and boot Ubuntu successfully—without reinstalling
the operating system.
In this guide, I’ll show you exactly what I did so you can fix the same issue on your
own.
What Causes the “UNEXPECTED
INCONSISTENCY (initramfs)” Error?
This error usually means the Linux filesystem has become corrupted.
Some common reasons include:
- Sudden power failure
- Improper or forced shutdown
- System crash
- Bad sectors on an HDD or SSD
- Filesystem corruption
When Ubuntu detects filesystem inconsistencies during startup, it automatically stops
the boot process and opens the (initramfs) recovery shell to prevent further damage.
Step 1: Identify the Corrupted Partition
Carefully read the error message displayed on your screen.
Ubuntu normally tells you which partition needs repairing.
For example:
The root filesystem on /dev/sda2 requires a manual fsck
Your partition could also be:
/dev/sda1/dev/sda2/dev/nvme0n1p2
Remember your partition name before moving to the next step.
Step 2: Run the fsck Command
At the (initramfs) prompt, enter:
fsck /dev/sda2 -y
Replace /dev/sda2 with the partition shown in your error.
Why use -y?
The -y option automatically answers Yes to every repair question, saving you from
manually confirming each repair.
Press Enter and allow Ubuntu to begin repairing the filesystem.
Step 3: Wait for the Repair Process
Ubuntu will now scan and repair:
- Corrupted files
- Inodes
- Directories
- Free blocks
You’ll see many lines scrolling across the screen.
Don’t interrupt the process.
When it’s finished, you’ll see something like:
—–FILE SYSTEM WAS MODIFIED—–
This means the repair was successful.
Step 4: Exit and Reboot
Once the repair is complete, type:exit
and press Enter.
Ubuntu should continue booting normally.
If it doesn’t, restart manually by typing:reboot
After rebooting, your desktop should load successfully.
What If fsck Doesn’t Fix the Problem?
If you’re still getting the same error:
Open Terminal.
- Boot using an Ubuntu Live USB.
- Open Terminal.
- Find your Linux partition:
lsblk -f- Repair it manually:
sudo fsck -f /dev/sda2
Replace the partition name if yours is different.
Restart your computer afterward.
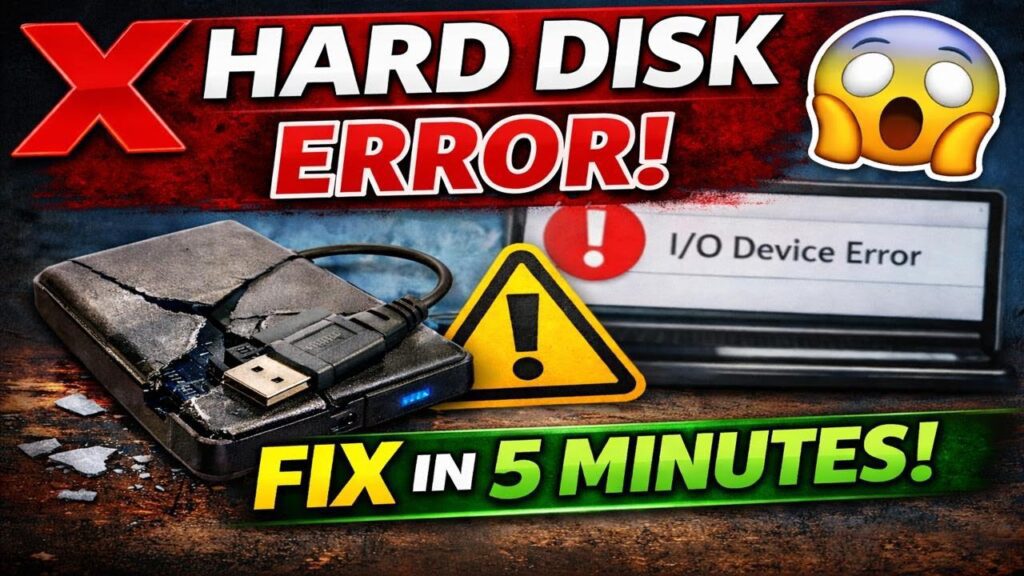
Important: Back Up Your Data
Even if fsck fixes the issue, an Input/output error may indicate that your HDD or
SSD is beginning to fail.
Once Ubuntu starts successfully:
- Back up all important files.
- Copy documents, photos, videos, and projects to an external drive or cloud storage.
- Check your drive’s SMART health.
- Replace the drive if hardware errors continue
- Backing up your data immediately can save you from losing valuable files in the future
Don’t Forget to Update Ubuntu After
Fixing the Boot Issue
Congratulations!
If your laptop has booted successfully, there’s one more important step.
Don’t forget to update your Ubuntu system.
Keeping Ubuntu updated helps you:
- Install the latest security patches
- Fix software bugs
- Improve system stability
- Update installed applications
- Receive the latest Linux kernel and driver updates
Step 1: Open Terminal
Press : Ctrl + Alt + T
Or search for Terminal from the Applications menu.
Step 2: Update the Package List
Run:
sudo apt update
This refreshes Ubuntu's package database.
Step 3: Upgrade Installed Packages
Next run:
sudo apt upgrade
When prompted:
Do you want to continue? [Y/n]
Type:
Y
and press Enter.
Step 4: Perform a Full Upgrade
Run:
sudo apt full-upgrade
This installs packages that require dependency changes and ensures your operating
system is fully updated.
Step 5: Remove Unused Packages
Clean unnecessary packages by running:sudo apt autoremove
This removes packages that are no longer required.
Step 6: Clean the Package Cache (Optional)
To free up storage space:sudo apt autoclean
or
sudo apt clean
Update Ubuntu with One Command
You can perform all essential update tasks with a single command:sudo apt update && sudo apt upgrade -y && sudo apt full-upgrade -y && sudo
apt autoremove -y
This command will:
- Update package lists
- Upgrade installed software
- Perform a full system upgrade
- Remove unused packages automatically
Restart Your Computer
If the update installs a new Linux kernel or important system components, restart your
system:
sudo reboot
Final Thoughts
The UNEXPECTED INCONSISTENCY (initramfs) error may look scary at first,
but in most cases it’s simply caused by filesystem corruption and can be repaired
using the fsck command.
These are the exact steps that helped me recover my Ubuntu installation without
reinstalling the operating system or losing any files.
After fixing the issue, don’t forget to update your Ubuntu system. Keeping your
operating system up to date improves security, stability, and overall performance,
helping you avoid similar problems in the future.
I hope this guide helped you solve your Ubuntu boot problem. If it did, consider
sharing this article with your friends or anyone who might face the same issue. You
can also bookmark this page for future reference.
Thank you once again for visiting my blog, and I wish you the very best on your
Linux journey.