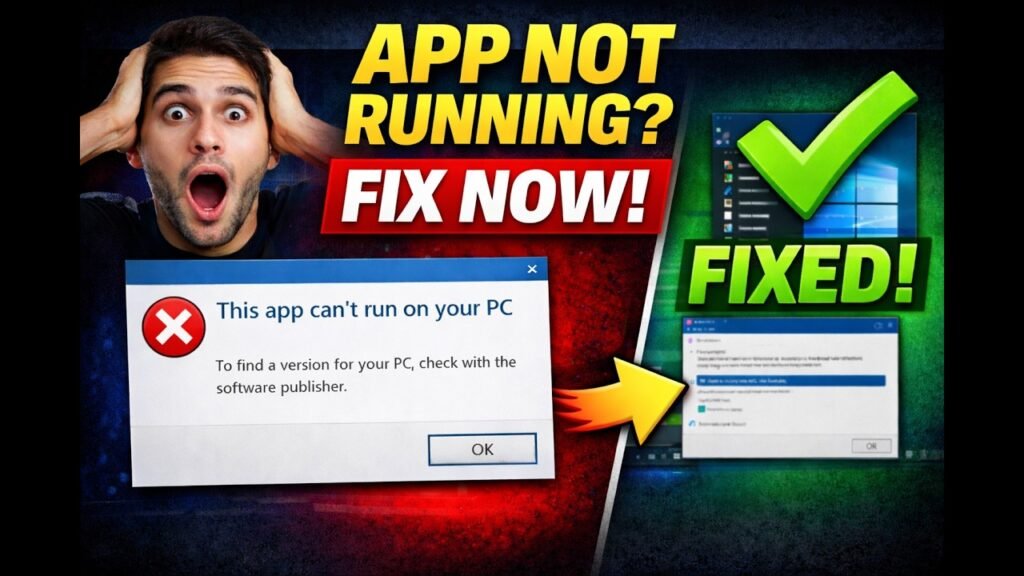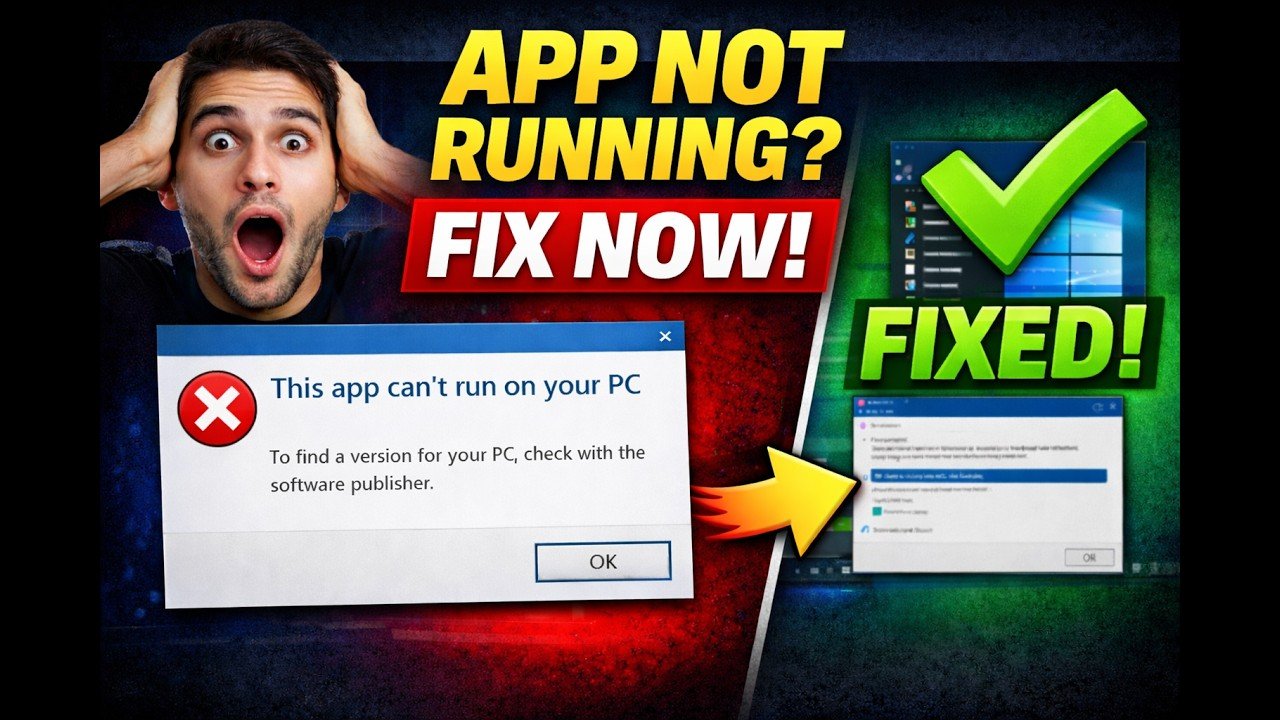
Hello guys, Sourav here! If you are trying to open a program and constantly getting the frustrating “This app cannot run on your PC” error, you are in the right place. This is a very common issue that prevents software from launching, but it can be resolved with a few straightforward troubleshooting steps.
In this guide, I will walk you through the most effective methods to fix this error and get your applications running smoothly again.
1. Verify Your System Architecture (32-bit vs. 64-bit)
The most common reason for this error is a mismatch between your Windows architecture and the software version. Trying to run a 64-bit application on a 32-bit operating system will trigger this issue.
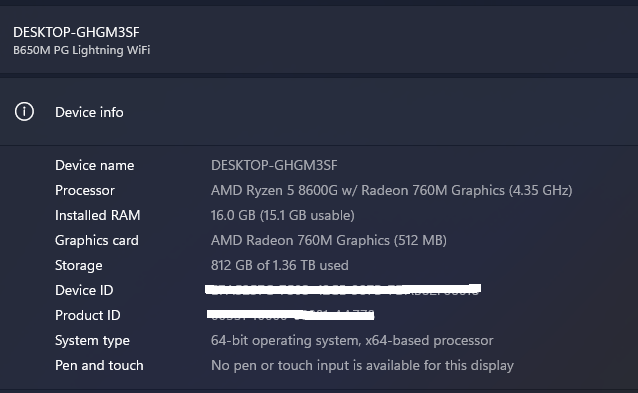
- Right-click on This PC on your desktop or file explorer.
- Select Properties.
- Look for the System type under the Device specifications section. It will clearly state whether you are running a 32-bit or 64-bit operating system.
- The Fix: Ensure the software you downloaded matches your system type. If you have a 64-bit system, download the 64-bit version of the app. If the wrong version is installed, completely uninstall it and download the correct one.
2. Run the Application as Administrator
Sometimes, an application simply lacks the necessary system permissions to execute properly.
- Right-click the shortcut or
.exefile of the problematic software. - Select Run as administrator.
- Click Yes on the User Account Control (UAC) prompt.
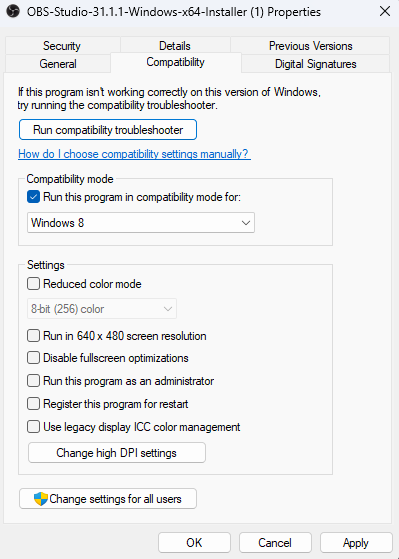
- If the app opens successfully, you can set it to always run as administrator by right-clicking the app, going to Properties -> Compatibility, and checking the Run this program as an administrator box.
3. Use Compatibility Mode for Older Software
If you are using Windows 10 or Windows 11 but trying to run software designed for older operating systems, compatibility issues will occur.
- Right-click the software icon and select Properties.
- Navigate to the Compatibility tab.
- Check the box that says Run this program in compatibility mode for:.
- Select an older version of Windows from the dropdown menu (such as Windows 8 or Windows 7).
- Click Apply and then OK. Try running the app again.
4. Re-download the Software File
A corrupted or incomplete download is another frequent culprit. If the installer file is missing critical data, the system will reject it and the installation will crop out.
- Delete the current installer file.
- Go back to the official website and download the software again to ensure no files are missing.
- Run the fresh installer to see if the error is resolved.
5. Repair System Files Using SFC Scan
Corrupted Windows system files can prevent external applications from running. The built-in System File Checker (SFC) can automatically scan and repair these files.
- Click the Start menu and search for CMD or Command Prompt.
- Right-click it and select Run as administrator.
- Type the following command and hit Enter:
sfc /scannow - The system will begin scanning and repairing system files. Once the process completes and reaches 100%, restart your computer.
6. Update or Repair .NET Framework & Visual C++
Many Windows applications rely heavily on the .NET Framework and Visual C++ Redistributables to function. If these are missing or outdated, apps will throw errors.
- Search for .NET Framework on Google, download the latest version from Microsoft’s official site, and install it.
- Similarly, search for Visual C++ Redistributable. Download and install the architecture version that matches your PC (x86 for 32-bit or x64 for 64-bit).
- Pro Tip: If you already have these installed, run the downloaded installer anyway. It will give you a Repair option. Click Repair to fix any broken registry files.
Once you have completed these steps, give your PC a quick restart. The application should now open without any errors. If this guide helped you, make sure to check out the full video tutorial on my YouTube channel and hit that subscribe button for more IT fixes and tech guides!