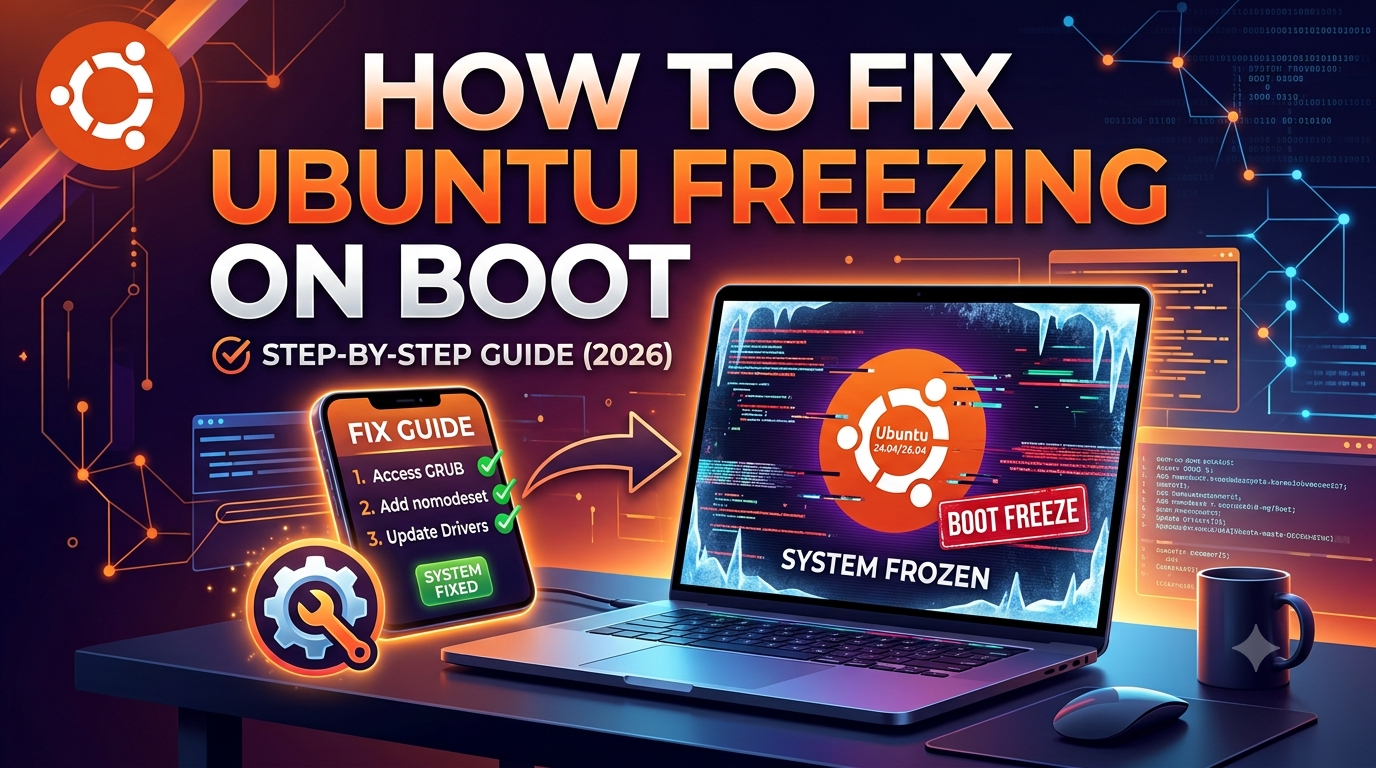
Is Ubuntu freezing on startup or failing to appear in the dual-boot menu next to Windows? Read this ultimate troubleshooting guide to configure your BIOS, trust UEFI files, and use recovery options to fix boot freezes permanently.
Hi, thank you for visiting my blog! I know exactly what kind of trouble you are facing right now, and I have clearly explained how to fix it in this guide. If you follow the steps outlined below, your problem will be solved very easily. Let’s dive right into the blog.
How to Fix Ubuntu Linux Freezing or Missing on Boot
There’s nothing more frustrating than turning on your PC only to have it freeze at the startup screen, or discovering that the Ubuntu option has completely disappeared from the boot menu after a fresh installation.
You may find Ubuntu stuck on the logo screen, encounter a black screen immediately after powering on your computer, or notice that your system skips Linux entirely and boots straight into Windows. While these issues are quite common, the good news is that they’re usually easy to fix.
In most cases, the problem is caused by a few common factors, such as firmware security restrictions on dual-boot systems, graphics driver conflicts, corrupted system files, or a storage partition running out of available disk space.
Why Does Ubuntu Freeze or Fail ?
Before diving into the steps, it helps to identify your exact symptom:
- The Invisible Linux Option: Ubuntu won’t show up in the menu at all after installing it alongside Windows 10.
- The Logo Freeze: The system hangs forever directly on the purple or black Ubuntu loading screen.
- The Post-GRUB Black Screen: You select Ubuntu from your boot options, but the screen instantly cuts to black.
- The Input Freeze: The desktop layout appears, but your cursor and keyboard are completely bricked.
Step 1: Fix DELL UEFI & Dual-Boot
If you installed Ubuntu alongside Windows 10 on an DELL laptop (or a similar modern UEFI machine) and Ubuntu fails to appear in the menu or freezes instantly, it’s because the motherboard’s built-in security architecture doesn’t trust the Linux boot files yet.
Follow these steps to authorize the files manually and place Linux at the top of your boot hierarchy:
- Dell BIOS: Shut down your computer completely. Turn it back on and immediately tap the
F2key repeatedly until the BIOS setup menu utility appears. - Unlock Security Options: Use your keyboard’s arrow keys to navigate to the Security tab. Select Set Supervisor Password and create a temporary password.Critical Step: If you leave the supervisor password blank, the advanced UEFI security parameters on the next pages will remain grayed out and unclickable.
- Verify Boot Settings: Move over to the Boot tab and ensure that Boot Mode is toggled to UEFI and Secure Boot is set to Enabled.
- Trust the UEFI Boot File: Toggle back to the Security tab, highlight the option Select an UEFI file as trusted for executing, and press Enter.
- Locate the File: Select your internal hard drive (usually labeled
HDD0), then open the directory path:EFI➔ubuntu➔shimx64.efi(if you aren’t using secure boot, selectgrubx64.efi). Select the file, type in a descriptive name like “Ubuntu Boot”, and press Enter to save. - Adjust Boot Priority: Tap
F10to save your changes and exit, then immediately tapF2again to re-enter the BIOS. Move over to the Boot tab. Your newly trusted Linux boot entry will now be visible at the bottom of the stack. Use theF5orF6keys to shift it to the very top (Priority 1) above the Windows Boot Manager. - Final Save: Press
F10one last time to save and reboot. Your computer will now reliably load into the GRUB boot menu every time.
Step 2: Access the GRUB Bootloader Menu
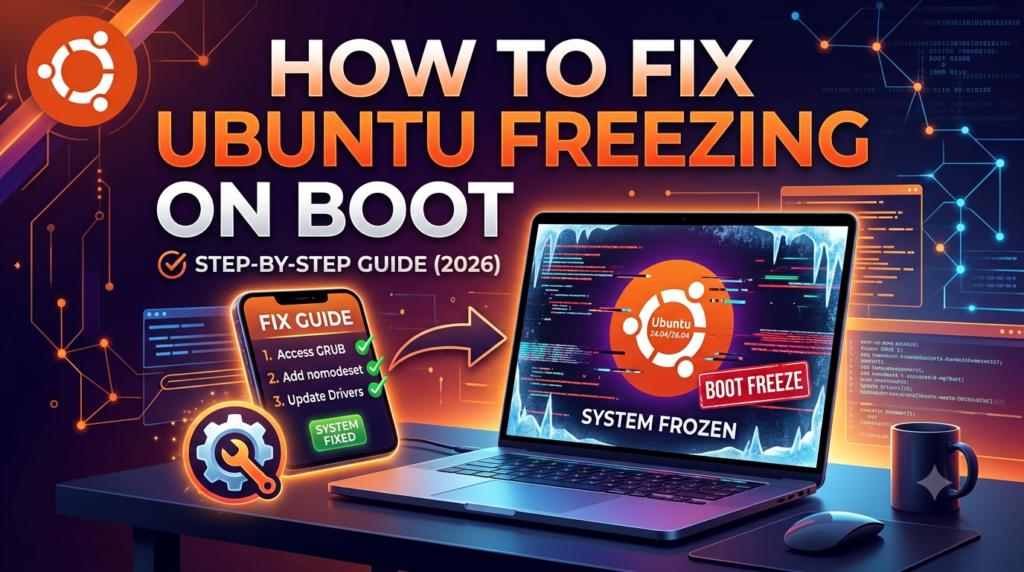
If your boot options are configured correctly but the operating system itself freezes right before loading the desktop, you need a way to pass safe instructions to Ubuntu before it tries to load. We do this through the GRUB menu.
- Turn your machine off completely.
- Hit the power button, and immediately start tapping the correct key for your system architecture:
- Legacy BIOS systems: Press and hold the
Shiftkey. - Modern UEFI systems: Press the
Esckey repeatedly.
- Legacy BIOS systems: Press and hold the
- If timed correctly, your display will skip the typical splash logo and reveal the purple GNU GRUB boot options menu.
Step 3: Boot with nomodeset (The Graphics Driver Bypass)
Graphics card drivers are one of the most common causes of system freezes. Forcing Ubuntu to boot using basic, built-in system graphics can get you past a frozen logo screen so you can log in and apply a permanent fix.
- On the GRUB menu screen, use the arrow keys to highlight the top Ubuntu entry and press the
Ekey to edit its boot parameters. - Look through the text strings for a line that begins with the word
linux, then find the phrasequiet splashtoward the end of that specific line. - Move your cursor over and add a space right after
splash, then typenomodeset.Example: Transformquiet splashintoquiet splash nomodeset - Press
Ctrl + XorF10to execute the boot process with these temporary rules.
If your machine loads up to the desktop successfully, your core issue is a graphics driver conflict. Proceed directly to Step 5 to fix it permanently.
Step 4: Use Recovery Mode for Core File System Repairs
If a corrupted file sector, a broken software upgrade, or an out-of-space storage drive is causing your boot loop, Ubuntu’s native Recovery Mode acts as an integrated toolkit to patch things up automatically.
- Bring up the GRUB Menu (Step 2).
- Highlight Advanced options for Ubuntu and press Enter.
- Select the entry containing your latest kernel variant paired with (recovery mode).
Once the specialized recovery panel initializes, work through these three choices sequentially:
1. Execute fsck (File System Check)
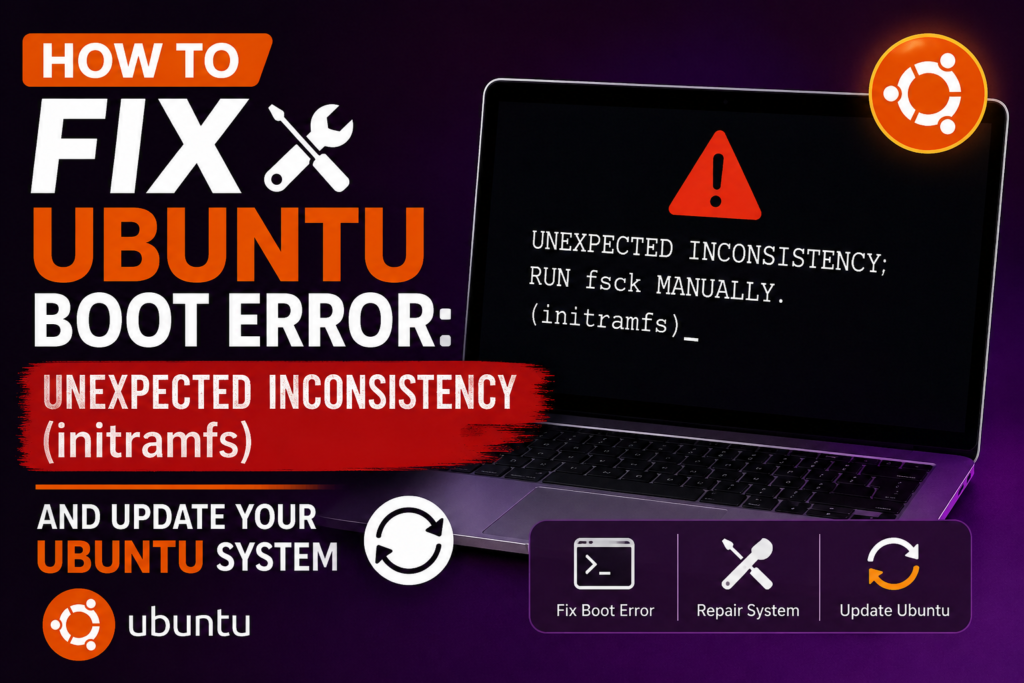
Select the fsck module. Agree to the prompt asking to mount your main storage drive as read/write. This tool runs a complete scanning pass on your drive partitions to find and mend raw file allocation errors automatically.
2. Clear Space with clean
If your local storage drive accidentally hits 100% maximum capacity, Ubuntu will freeze on boot because it cannot create essential background system cache files. Select clean to purge lingering cache archives and temporary packages to free up space.
3. Repair Dependencies via network + dpkg
First, choose the network option to link up to your local internet router. Next, hit dpkg. This prompts Ubuntu to check for broken software packages, failed partial updates, and incomplete dependencies, downloading the missing fixes over the web to repair your configuration.
Once finished, select Resume to try a normal boot sequence.
Step 5: Completely Purge and Reinstall Graphics Drivers
If nomodeset (Step 3) allowed you to enter your system, your active display driver needs to be uninstalled and replaced with a clean copy.
- Launch a new terminal window using the shortcut
Ctrl + Alt + T. - If you are running an NVIDIA setup, drop your current setup completely by executing the following purge command:
Step 6: Completely Purge and Reinstall Graphics Drivers
If nomodeset (Step 3) allowed you to enter your system, your active display driver needs to be uninstalled and replaced with a clean copy.
- Launch a new terminal window using the shortcut
Ctrl + Alt + T. - If you are running an NVIDIA setup, drop your current setup completely by executing the following purge command:Bash
sudo apt-get purge nvidia* - Once the command completes, restart your machine. Your hardware should boot completely normally using Ubuntu’s universal open-source display system (Nouveau).
- To safely set up stable proprietary drivers again, open your application menu, launch Additional Drivers, choose the latest tested and verified version from the interface layout, and click apply.
Alternatively, you can ask Ubuntu to auto-detect and resolve your layout dependencies natively via the command line:
Bash
sudo ubuntu-drivers autoinstall
Step 7: Basic Terminal Optimization & GRUB Updates
If you are stuck inside a minimal terminal prompt or managed to log in via safe mode, executing basic system maintenance commands can clean out common lingering software bugs.
Ensure your core system repositories are completely up to speed:
Bash
sudo apt update && sudo apt upgrade -y
sudo apt autoremove -y
If your configuration rules got mangled, force the system to rebuild its main bootloader roadmap index:
Bash
sudo update-grub
To quickly verify that your device has not completely run out of internal partition storage allocation space, check your drive status:
Bash
df -h
Step 8: The Ultimate Safe-Fail (USB Repair)
If your bootloader is heavily corrupted or won’t launch the GRUB panel no matter what key combinations you try, you can bypass the local configuration completely.
- Build a bootable installation media layout using an alternative machine via an open-source image burner tool.
- Slot the USB drive into your broken machine, access your boot menu selection list at startup, and launch the Live USB environment.
- Choose Try Ubuntu without installation.
- From here, you can back up your valuable documents to an external hard drive, run specialized boot repair programs, or safely reinstall your operating system while preserving your local home folder configuration directories.