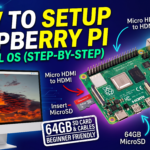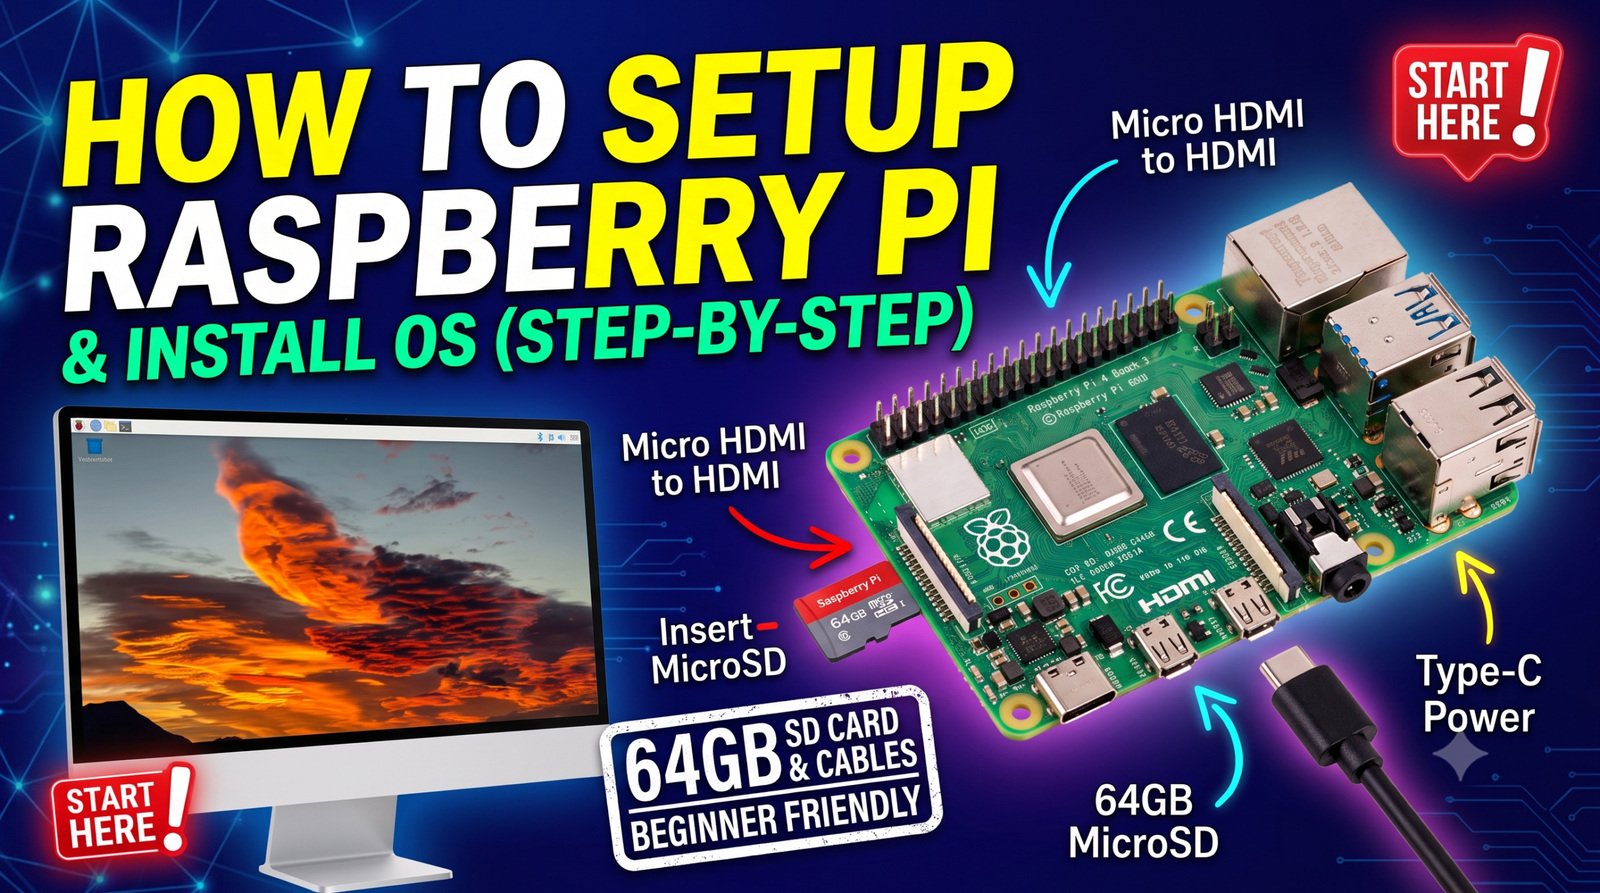
Welcome to today’s organic blog! Today’s topic is all about how to set up a Raspberry Pi and how to install the Operating System (OS). Before doing anything else, you first need to know exactly how a Raspberry Pi is connected.Setting up a Raspberry Pi for the first time might seem daunting, but it is actually a straightforward and rewarding process. Just learning to code, getting the hardware connected and the operating system (OS) installed is your first step.
What You Need to Connect a Raspberry Pi
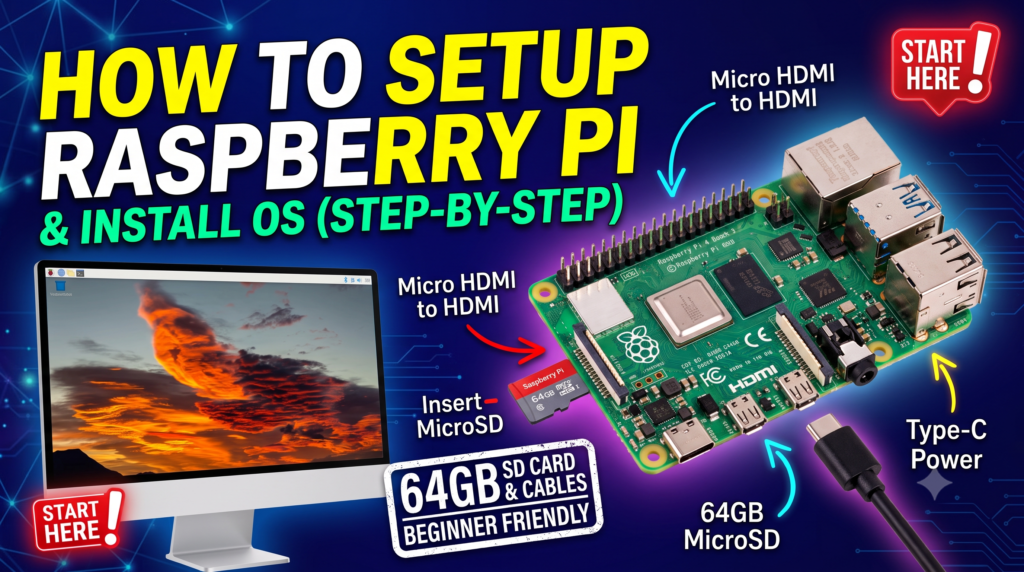
To get started, you need to gather three basic hardware requirements:
- Storage: A 64GB Memory Card / Micro SD Card.
- Display: A Micro HDMI to HDMI cable (or VGA adapter).
- Power: A power supply using a Type-C cable.
Step 1: Preparing the Micro SD Card
Right now, our focus is only on installing the OS. To do this, take your 64GB Micro SD card, insert it into a card reader, and plug it directly into your computer’s CPU USB port.
Step 2: Downloading the Raspberry Pi Imager
- Go to Google and search for “Raspberry Pi Imager“.
- Click on the very first result, which is the official Raspberry Pi website.
- Once you enter the website, scroll down to find the Raspberry Pi Imager section. Just below it, you will see three download options:1
- Select the correct option for your computer. For example, I clicked on Download for Windows.
- Before the download begins, a prompt will ask you to select the file path where you want to save it.
- After selecting the path, the download will start. The downloaded file name is
imager_2.0.12and the.exefile size is 21.3 MB. - Once the download is complete, install the software on your computer. Make sure your SD card and card reader are securely plugged into your USB port.
Step 3: Installing the OS to the SD Card
Open the Raspberry Pi Imager software and follow these quick steps:
- Select Device: Choose the exact Raspberry Pi model you are using.
- Select OS: Choose the OS (just pick the one at the very top of the list).
- Select Storage: Choose your plugged-in SD card.
- Settings: Create a hostname and set your location.
- Write: Click to start the writing process.
Step 4: Final Raspberry Pi Connection
Once the write process is 100% complete, safely remove the SD card from your computer. Insert the SD card into your Raspberry Pi, connect your HDMI and Type-C power cables, and turn the power on. Check your display, and you will see your Raspberry Pi booting up successfully!