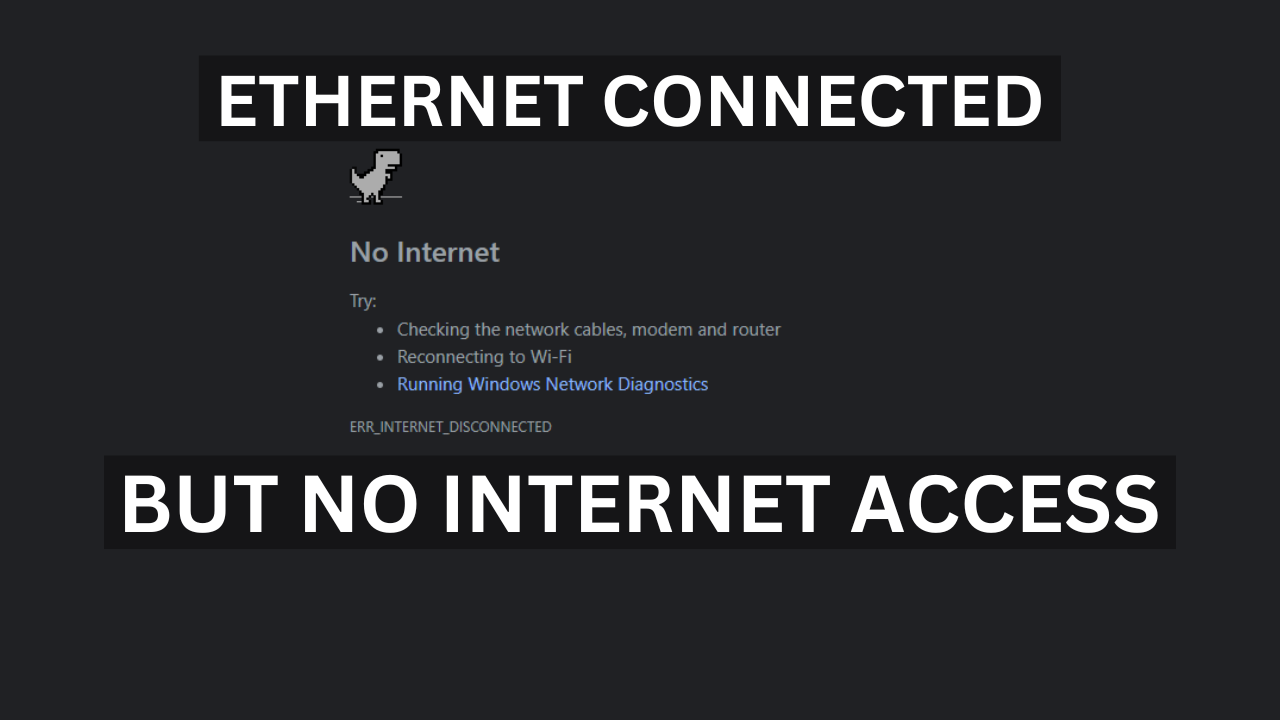
This section will explore how to fix Wi-Fi not working on our computers and laptops but no network. If you use the internet and wi-fi on computers and laptops, sometimes this incident has happened before you, Today we will see how to fix the problem of connection, internet not working, can’t browse, no matter what you do, your internet is still not working.
1. Restart Your Device & Router
First of all, the device should be turned on, be it the device’s router or your computer.
Then, after you turn on your router and the computer after the system is turned on, you need to shut down the computer. After turning on the router, you need to unplug each of the wires that your network connection is connected to for about 10 seconds, then plug it back in.
2. Update Network Drivers or OS
First of all, you need to uninstall and install the network driver on your computer or if you don’t have it installed, you need to install it.
Then you have to update the operating system on your computer, for that you have to press the windows button, and you have to write that check for update, after clicking on it you will get the update option. Then you have to wait a little after clicking the update option, even after waiting, your computer will update automatically.
3. Reset Network Settings
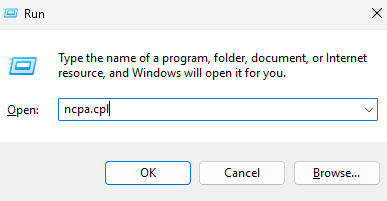
First of all, you need to press the Windows button and type run, After the run opens you have to type that is ncpa.cpl then click ok.
Once the network connection is open you will have an option to connect to Ethernet and Wi-Fi, Ethernet is used if you are using land cable then Ethernet will be used and if you are using Wi-Fi then you have to go to the Wi-Fi option.
First of all, if you see the In option, you should go to the Ethernet option, then right-click and go to Properties.
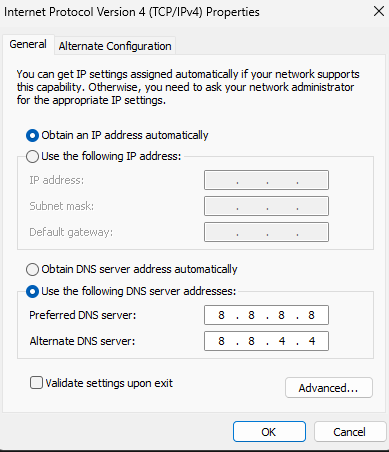
After going to Ethernet Ethernet, you will see one option, which is Internet Protocol Version 4. After going there, you will see another option that is IP is placed in two places one is Use the following IP address, and under that, you will see an option that is Use the following DNS server address both IPs will be assigned to you first note down in notepad then obtained an IP address automatically select the option.
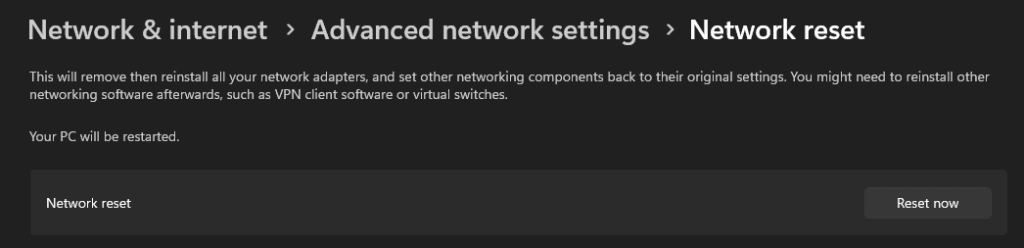
Then, you have to right-click on the Windows logo and go to settings. After opening Settings, you should see an option which is Network & Internet, After coming to the Network and Internet option, you need to go to one option, which is Advanced Network setting. After going to advanced network settings, you have to go to an option which is network very settings after going there, you will get an option which is reset there you have to click. If you click here, your IP address will be reset.
After clicking on the network reset option, it will give you an option which is Are you sure you want to reset your network setting yes or no if you want to change the network setting, then click yes.
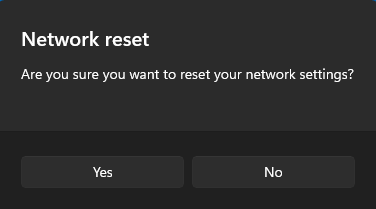
After doing yes, you will restart the computer once. After restarting, you will check if the problem is solved.
After the computer restarts, you have to go to Windows Options and type Run, After the run opens, you have to type that is ncpa.cpl, Then press ok, After doing ok, you will see an option which is network connection go there, go to ethernet option and right click you have to see properties, After going to properties, you will see an option that is internet protocol version 4 go there and double click on it, and you will get an option that is audited there you have noted down the IP address you had earlier in notepad you have to paste it there Or have to put.
Then you have to restart your computer again. After restarting, check if you can access it, First of all you need to check if the internet is working or not.
4. Reset Network Settings cmd
First of all, you have to press Windows Option Type, then type Command Prompt (Admin) or Windows PowerShell (Admin) Both of these, you have to go to Run as Administrator option and click to open.
a. Reset TCP/IP Stack:
Reset TCP/IP:

Type: netsh int ip reset


Reset Winsock Catalog:

Type: netsh winsock reset

Release and Renew IP Address:

Type: ipconfig /release

Renew the IP address:

Type:  ipconfig /renew

Flush DNS Cache:

Type:  ipconfig /flushdns

Restart Your Computer:

After successfully running these commands in your terminal or command prompt, it is essential to restart your computer to ensure that all changes are fully applied and take effect properly. This process will help refresh the system and integrate any updates or configurations you have implemented.
Conclusion:
Very simple and very easy method we have shown you to do this yourself easily, Very simple and very easy method we have shown you and you can do this thing yourself and we have presented this blog to you for better improvement and experience and from the information provided in my blog, you can customize any picture, any picture in this way, you can easily change it.
NOTE: When you follow my steps it is very important to keep your computer.
If you have benefited from the information given to me, then you can follow my website. If you want to see such type of things first, then follow my website.
Also, I publish these types of things to you through YouTube. If you have difficulty in reading and understanding, you can subscribe to my YouTube channel. You can also watch the same video on YouTube.
If you want to watch this blog, click on the video below!
Discover more from Tech Ultimates - Latest Tech News & Tricks
Subscribe to get the latest posts sent to your email.